
1. Check the phone and prepare the space.
Use a supported Android phone with the camera permission and Google Play Services for AR needed for room capture. Android version alone does not establish compatibility. Read the supported-device guide before you plan a measurement session.
Choose an indoor room with enough light to distinguish surfaces and corners. Clear a safe path and identify the actual floor boundary, including recesses or alcoves you want in the outline. Decide which room you are recording and use one unit system throughout.
Keep a suitable tape or laser measuring tool available for independent checks. Camera measurements are estimates; verify dimensions that affect material orders, fitted items or construction decisions.
2. Start with a named project and room.
Choose a project name that will still make sense later, such as “Office refresh” or “Upstairs bedrooms.” Add a clearly named room rather than leaving several results with similar names.
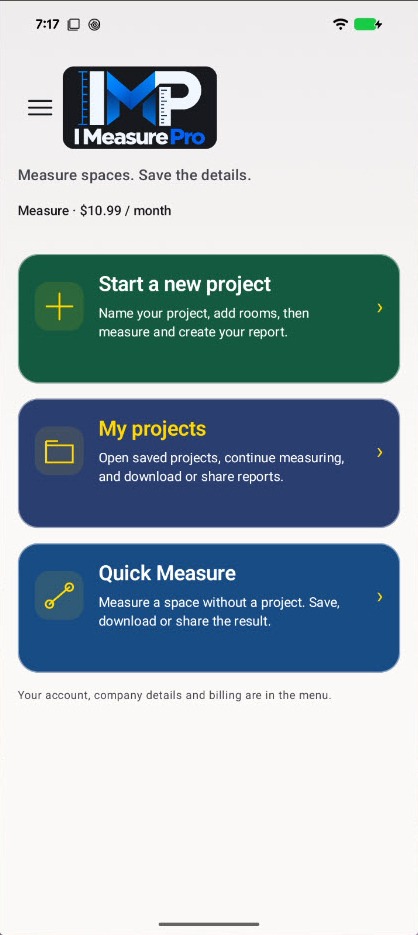
A project keeps separate room records organized. Quick Measure is available for the capture workflow without first creating a project, subject to its own allowance. Check the project, room and measurement allowances so you know what is saved.
3. Follow the corners around the floor outline.
Follow the app’s camera prompts and allow it to establish tracking before placing points. Work around the boundary in order, identifying the corners that define the horizontal room shape. Avoid crossing the outline or including an area twice.
Move steadily and watch the real room as well as the screen. If tracking is lost or points appear to move unexpectedly, stop adding points and follow the recovery guidance. Recheck the outline before continuing; do not assume an unstable result will correct itself after saving.
This is a room-outline workflow. It does not automatically capture ceiling height, door dimensions, furniture sizes or a three-dimensional scan.
4. Check the shape, wall lengths and area.
Review the completed outline alongside the displayed wall lengths, floor area and perimeter. Check that the shape matches the room, that the correct units are selected, and that alcoves or angled corners have not been simplified away.
For a rectangular example, 12 ft × 10 ft gives 120 sq ft of floor area and 44 ft of perimeter. Those values answer different questions. An irregular room needs its actual shape recorded; a single length × width may not describe it.
Compare important dimensions with an independent measurement. If a point was misplaced or the result is inconsistent, repeat the capture rather than using a questionable number. No numerical accuracy tolerance is promised.
5. Save the measurement with useful notes.
Add context such as the room’s purpose, an alcove to verify or an area excluded from the project. Keep separate rooms separately named. Reopen the saved room to check that its outline and dimensions are the ones you intend to use.
Several rooms can belong to one project, but they remain individual room records. The Full room workflow does not automatically align them into a connected whole-home floor plan.